How to Create Graphic Materials for Your Business: 5 Steps
A practical guide to planning, designing, and exporting business graphics that support brand consistency and sales.
Strong graphic materials are not just "nice visuals". They must communicate fast, stay consistent, and guide people toward action. This 5-step framework helps you create graphic assets that are clear, memorable, and business-focused.
Table of Contents
Quick Overview
| Main point | What it means |
|---|---|
| 1. Goal + audience | Define what the material should achieve and who it is for. |
| 2. Right tools | Pick tools that support quality and efficient collaboration. |
| 3. Structure + style | Build visual hierarchy so your message is easy to scan. |
| 4. Production | Create, iterate, and align versions across channels. |
| 5. Quality control | Check details and export files in the right formats. |
Step 1: Define the goal and audience
Every successful graphic material starts with clarity. If the goal is vague, the design becomes vague too. Decide what action you want from the viewer: request a quote, trust your brand, or understand your offer faster.
You also need a clear audience profile. Think about role, context, and expectations before you design a single element.
- Communication goal: what should this material achieve?
- Core message: what is the one key idea?
- Desired reaction: what should the audience do next?
Professional design is built on audience understanding, not decoration.
Pro tip: write a short persona before design work starts. It removes guesswork in content and layout decisions.
Step 2: Choose tools and resources
Tools do not replace design thinking, but the wrong stack slows teams down and introduces avoidable mistakes. Choose tools based on output quality, workflow speed, and collaboration needs.
When evaluating design tools, compare usability, format support, and handoff quality.
- Compatibility with your platforms and workflows.
- Usability for your current team skill level.
- Feature depth for real project needs.
- Pricing relative to output value.
- Collaboration for feedback and versioning.
Practical tool categories for businesses:
- Vector design tools
- Image editing software
- Layout and presentation tools
- Team collaboration platforms
Better tools mean cleaner processes and fewer production errors.
Pro tip: run one real pilot task before committing to a new paid tool.
Tool comparison matrix:
| Tool type | Primary function | Business value |
|---|---|---|
| Vector editor | Logos and icons | Scalable brand assets |
| Image software | Photo editing and retouching | Higher visual quality |
| Collaboration platform | Feedback and approvals | Faster project cycles |
| Layout tool | Compositions and templates | Consistent production speed |
Free AI tools that fit this 5-step workflow
If you want to start with a low budget, these free AI-enabled tools are practical options:
- Microsoft Designer (free): fast social visuals and ad creatives. Best for steps 3-4.
- Adobe Express (free plan): template-based design, background removal, and quick resizing for channels. Best for steps 2-4.
- Figma Starter: layout planning, hierarchy, and team collaboration. Best for steps 2-3.
- Recraft or Ideogram (free plans): idea generation and concept visuals. Best for steps 1 and 3.
Note: free-plan credits and usage terms can change over time.
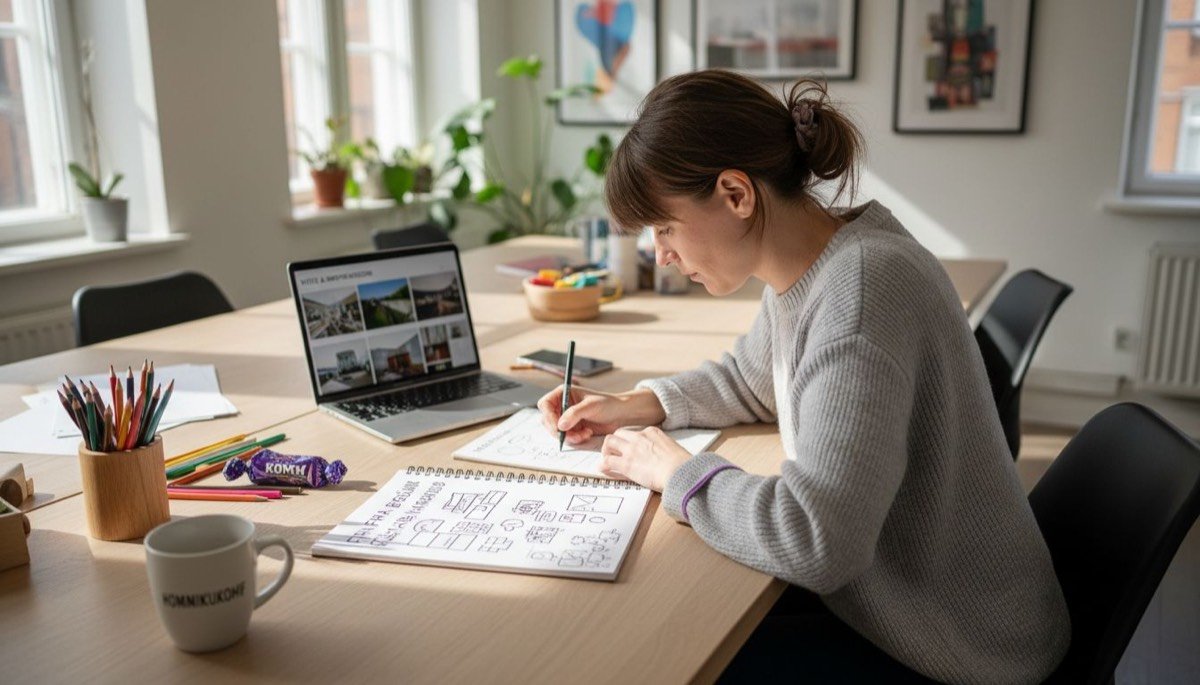
Step 3: Plan visual structure and style
Structure is what makes design readable. If everything competes for attention, nothing stands out.
- Consistency: same visual logic across all materials.
- Hierarchy: prioritize key messages first.
- Balance: distribute elements intentionally.
- Contrast: improve readability and emphasis.
When planning structure, include:
- Color system
- Typography rules
- Spacing usage
- Element placement
- Readability checks
Good visual structure communicates even before someone starts reading.
Pro tip: compare 2-3 layout drafts before finalizing. Small structure changes can greatly improve clarity.

Need professional graphic design support?
We build visual systems that are clean, consistent, and conversion-ready.
Explore graphic design service →Step 4: Create and produce materials
Production is where ideas become real assets. A structured workflow prevents rework and keeps output consistent.
Core phases:
- Drafting the initial concept
- Design execution in final formats
- Review and feedback
- Refinement before delivery
Practical production checklist:
- Pick correct format early
- Validate color consistency
- Ensure sufficient resolution
- Prepare all required output versions
- Perform final internal review
High-quality visuals are built by process, not luck.
Pro tip: always keep the original editable file before exporting.
Step 5: Quality check and export
Final quality control is where many costly errors are prevented. Before delivery, run a complete technical and visual check.
Quality checklist:
- Resolution matches output channel
- Color profile is correct (RGB/CMYK)
- Typography is consistent and legible
- Layout integrity is preserved
- File format matches usage context
Export sequence:
- Select target format per channel
- Validate color profile mapping
- Set correct resolution and dimensions
- Export PDF, PNG, JPEG or SVG as needed
- Run a final visual spot check
Professional quality is visible in the details.
Pro tip: test final outputs on real devices and real backgrounds before publishing.
Stage comparison table:
| Stage | Includes | Outcome |
|---|---|---|
| Goal and audience | Analysis and persona definition | Sharper targeting |
| Tool selection | Software and workflow setup | Efficient production |
| Structure planning | Layout and hierarchy drafts | Clear visual communication |
| Production | Design execution and iteration | Professional assets |
| QC and export | Technical and visual validation | Reliable final delivery |
Make your business graphics more effective and memorable
Creating high-quality business graphics can feel complex. The core themes are clear targeting, smart tooling, and strict quality control. If you want to save time and still get a strong result, professional support helps you move faster and stay consistent.
At siadesign.ee we provide a full stack: graphic design, web layout, and landing pages, so your visual identity stays aligned across every customer touchpoint.
Frequently asked questions
How do I define the goal and audience?
Start with one measurable outcome and one clear audience segment. This keeps messaging and layout decisions focused.
Which design tools should I use?
Choose tools that match your team workflow, export needs, and collaboration model rather than chasing feature lists.
How do I plan visual structure?
Use hierarchy: headline, supporting point, proof, CTA. Keep spacing and typography consistent across all formats.
What should I check before export?
Review resolution, color profile, typography, spacing, and file format compatibility with the final output channel.
Recommendations
Next step
Want us to build these materials for you?
We create business graphics that are readable, premium, and conversion-oriented.
Request a graphic design quote →Angelina
Graphic designer / prepress
Graphic designer and prepress specialist with 5+ years of experience. Strong in branding, print materials, books and complete print workflows.
Learn more about the SIA DESIGN team →